

Homing and caring for a pet turtle can be easy and hassle-free. However, cleaning their tanks can be complicated, especially if you don’t know how. Store-bought turtle tank cleaners can be pretty expensive. However, what if we told you there’s an easy way out?
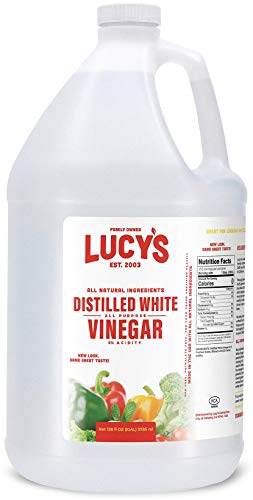
White vinegar that you use for cooking and basic cleaning effectively cleans your turtle tank. With most turtle tanks, people struggle with algal deposition and hard water deposition along the sides of the tank.
Using white vinegar for cleaning isn’t that out of context. Thanks to the acetic acid composition, white vinegar has a pH of 2.5, acidic. Also, white vinegar doesn’t impose potent side effects on the turtle despite the low pH, which is a benefit.
This article will discuss everything about cleaning a turtle tank with vinegar – the chemistry, steps, and everything.
Table of Contents
Is Cleaning a Turtle Tank Important?
Hygiene and sanitation play a crucial role in determining an animal’s health, which also applies to a turtle. So, cleaning the turtle tank will result in optimal health and living conditions for your turtle.
However, leaving your turtle in an uncleaned water tank will lead to complications. Lack of sanitation leads to cloudy water with hard water stains around the sides.
Additionally, the biological waste from the turtle can make the water smelly and high in chemicals. Since the turtle feeds from the water, not cleaning the tank will lead to contamination.
The biggest issue with an unclean turtle tank is the risks of salmonella. Since turtles carry this infection, a dirty tank propagates the stakes further.
Prolonged exposure to warmth and sunlight can also lead to algal growth, needing cleaning. So, cleaning a turtle tank isn’t a mere choice but a necessity.
How To Clean a Turtle Tank with Vinegar?
Cleaning a turtle tank with vinegar requires your pantry staples. So, if you want to DIY your cleaning experience, here’s what you will need:
- White vinegar
- Cleaning sponges
- Razor blade/scraper
- Table salt
- Dry cloth
Once you have the staples sorted, follow the steps mentioned:
1. Take the Turtle Out
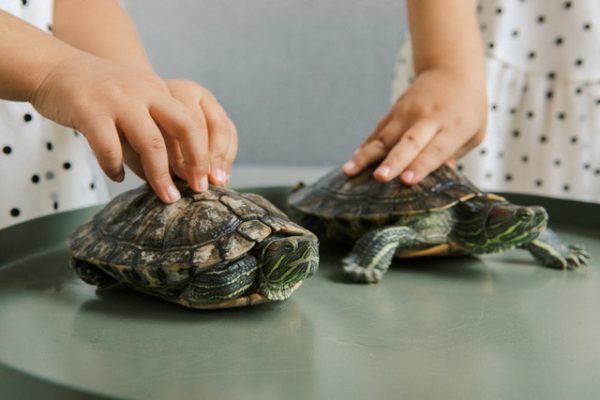
Before you get your hands into cleaning the turtle tank, you need to relocate the turtle first. Ideally, fill a bucket up to the halfway mark, leaving enough space for the turtle to swim.
If you have multiple turtle tanks or feeding tanks, you can keep the turtle there for the time being. Just ensure the water parameters are optimal.
2. Take out the Decorations and Empty the Tank
If you have spruced up the turtle tank with decorations, take them out of the tank. It is ideal to clean them individually to eliminate waste and algae from the surface. Also, if you have electrical devices in the tank, like a heater and filter, take them out during cleaning.
Since turtle tanks are large, you won’t be able to remove all the water in one go. If you don’t have a pump, remove the water in batches until all the water is emptied.
3. Get to Scrubbing
With the water and the decorations out, take your cleaning sponger or scrubber and salt it. Then, use that to scrub the inside of the tank.
The rough edges of the salt rub off the white stains and algal deposition on the inner perimeter of the tank. The salt also disinfects the inside, especially when it comes to the deposited biological waste.
4. Whip out the White Vinegar
Following scrubbing is when you can use white vinegar. But you have to do the following steps.
Take a bucket and mix an equal amount of water and white vinegar to make a solution. Next, throw in your cleaning sponge and let it soak in the solution.
Without wringing out the excess liquid, use the sponge to scrub the tank’s insides. Repeat this a few times until you have covered the entire tank. If there are stubborn dirt patches, rub the sponge a few more times.
Let the vinegar solution seep into the stains and the dirt for up to 30 minutes. This will loosen the dirt too. If you have filthy patches, go in with the table salt again for scrubbing.
5. Use a Scraper
For the calcium deposit on the surface, you can use a scraper to scrape them out. Ideally, we’d recommend doing this after rinsing the vinegar.
The rubber scrapers are the best option. They clean the dirt, but they also get rid of the algal build-up in the tank.
6. Rinse and Clean
The last step for the turtle tank cleaning is to rinse out the vinegar and the leftover dirt in the tank. You can soak the sponge in water and rinse the corners and bottom by hand if needed.
You need to ensure no vinegar residue before you refill the tank with normal water.
7. Clean the Decorations
You also need to clean the decorations with white vinegar, not just the tank. For this, use the residual vinegar-water solution and soak the decorations in them.
Leave it in for 10 minutes, and then clean the algal residues off it using a toothbrush. Once done, rinse everything thoroughly under running water until the water runs clear.
Is Vinegar Harmful to Turtles?
Cleaning the turtle tank independently with white vinegar is safe. However, this means that you should take out the turtle before cleaning.
Also, once you are done cleaning, you need to rinse the tank thoroughly multiple times before reintroducing the turtle.
The low and acidic pH of the vinegar might be harmful to the turtle in the long run. So, rinsing thoroughly after cleaning is a necessity.
Can I Put Baking Soda in My Turtle Tank?

Compared to white vinegar, which might be harmful to the turtle, the same isn’t the case for baking soda.
Instead, most turtle keepers use baking soda to elevate the water’s pH to make it more favorable for the turtle to live in.
So, you can use baking soda to clean your turtle tank, but you can also use it to elevate the pH in the tank. Baking soda is comparably safe for your turtle tank.
What Is the Fastest Way to Clean a Turtle Tank?
Technically, there is no “fast” way to clean a turtle tank. You need to clean it with conviction to ensure every nook and corner is cleaned.
However, if you don’t want the additional steps that come with white vinegar, you have the choice of professional turtle tank cleaners. These pre-mixed solutions can be sprayed directly into the tank for ease of cleaning.
So, you won’t have to prepare a separate bucket with vinegar and water and get to cleaning right away. Also, bleach works quicker for loosening the dirt and supporting quicker cleaning.
How To Keep a Turtle Tank Clean?
If you follow the steps above, you’d realize that cleaning a turtle tank is complicated. This is because there are so many steps involved. So, cleaning it twice a month is ideal.
But what about the accumulated dirt in the rest of the days?
Thankfully, there are several ways you can minimize the dirt in the turtle tank. Following these tips will allow you to reduce the frequency of cleaning. Here’s what you can do:
Add Live Plants
Maintaining live aquatic plants can be challenging. However, these live plants can reduce algal growth in the turtle tank with the proper measures.
Floating plants are also a good choice if you don’t have gravel or sand at the bottom of the tank. However, ensure that you check the toxicity of the live plant you are adding to the tank.
Remove Leftover Food
Besides biological waste, even the uneaten food adds to the waste in the tank. If you don’t have a habit of removing them out of the tank, do it immediately.
Besides manual cleaning, you can also add a few small fish species. They can clean the excess food and also get rid of algal growth.
Add a Strong Filter
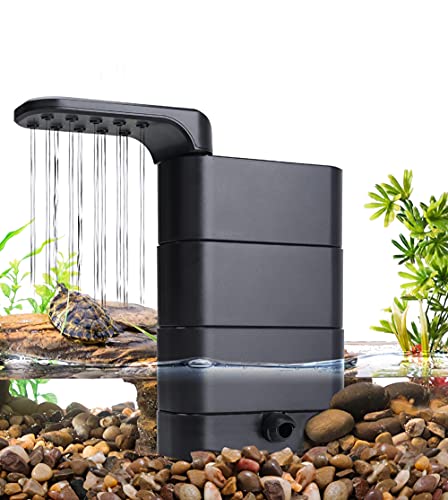
For biological waste, nothing works better than a strong filter. The filter will circulate the water in the tank, preventing excess biowaste accumulation in the tank. Also, it can reduce bacterial growth in the water.
The filters also aerate the water, which is a benefit. We’d also recommend separating your turtle from the main tank during feeding.
Factors To Keep in Mind While Cleaning a Turtle Tank
Using white vinegar, bleaching, or baking soda isn’t harmful to your turtle when used in a minimal amount. So, ensure you keep the following factors in mind:
- Always clean the insides of the tank wearing gloves. This reduces the risks of contamination and contracting infections.
- Avoid using metal scrubbers for the turtle tank since they leave permanent scratches on the surface.
- Ensure that the tank is rinsed and dried thoroughly before reintroducing the decorations and the turtle into the tank.
- Not just the tank and decorations, clean the filter and heater too.
- Avoid removing all the water by transferring the tank. Instead, clean out the water in batches.
Check out our article on “How To Care For A Baby Slider Turtle?”
FAQs
You should clean the entire turtle tank every 3-4 weeks, depending on how dirty it gets. However, prioritize a weekly water change to ensure the optimal health of the turtle.
The most common reason the turtle tank is getting dirty is algal growth and excess biological waste accumulation. Install a powerful filter if that is the case. Also, avoid overfeeding in the tank since extra food adds to the waste.
You should relocate the turtle to a bucket half-filled with water while cleaning the turtle tank. Ensure that the water parameters are optimal in the bucket water too.
Wrapping Up
Using white vinegar to clean a turtle tank is aeasible and effective. You can DIY the method and not have an issue with the accessibility and expenses. We have shared everything about the process in detail. Ensure that you follow the steps mentioned for maximum efficiency. In case of further queries, leave them for us in the comments.