For many people, an aquarium means just a tank with water, plants, and fish.
From the outside, there isn’t much you can do with it nor many animals you can raise, but this is far from the truth.
Besides all kinds of fascinating species of fish, you can also grow shrimp and water snails.
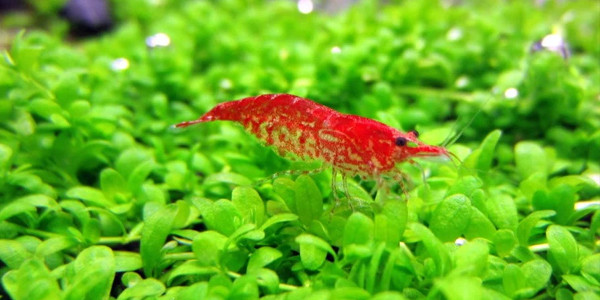
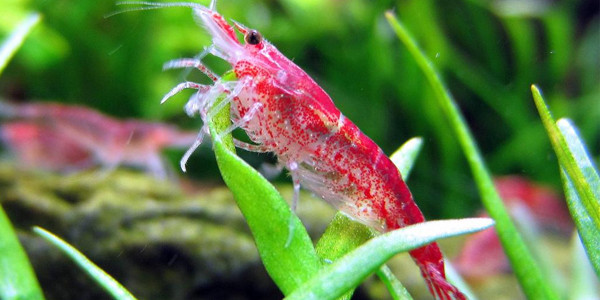
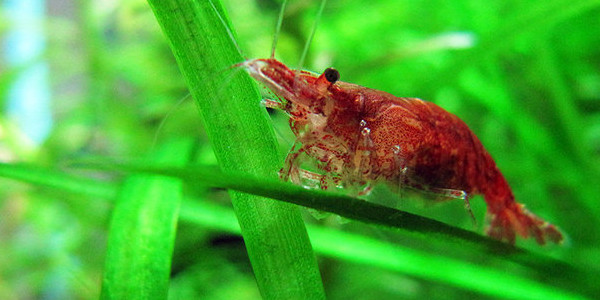
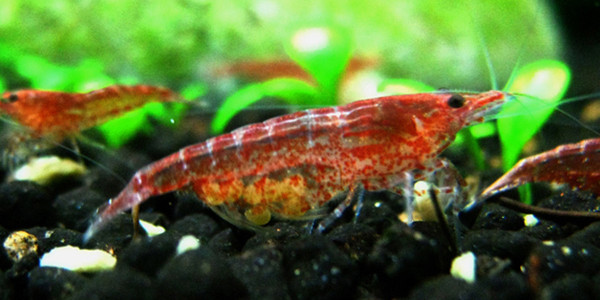
Cherry shrimp are a striking addition to any tank and they are extremely easy to care for and breed.
Table of Contents
Advantages of having a cherry shrimp
To breed cherry shrimp, you will not need any extraordinary tank or conditions.
Once you have enough of them, you don’t have to worry about cleaning the water in your tank as often considering they will take care of the dirt and eat the residual food.
Less water changes also means a smaller risk for a chemical imbalance in the water.
The filter will not clog all the time and you don’t need to invest all your money in a very powerful one because the shrimp will be a main source of the work.
Ok now that you’ve a rough idea of the benefits of having cherry shrimp, let me share with you how to breed them.
Steps for Breeding Cherry Shrimp
Step 1 – Prepare the tank
Any tank will do as long as there are no other fish inside to disturb them.
It’s preferable to have a tank smaller than 40 liters otherwise the shrimp can become confused.
The substrate is not really important, but the shrimp are less stressed with a darker substrate.
Also, you may need a heater if the temperature in the tank goes below 72 degrees Fahrenheit.
It is more beneficial to the shrimp if you utilize a filter that is not as powerful as some others to avoid disrupting the shrimp or having them sucked into the filter.
Also, you have to make sure the filter is cycled; shrimps don’t survive with high levels of ammonia.
Keep the filter in a cycled tank for at least a month before you put it in the tank with the shrimp.
Step 2 – Inserting the shrimp into the tank
Whether you already have shrimp in your tank or you purchase them for breeding, be sure you have both males and females.
It is recommended to put a group of 10 or more in the tank.
Gradually place them in the new tank as to not shock them with a sudden change in the parameters of the water.
Place them in a recipient filled with tank water from where were before sinking the recipient in the tank until some water from the tank gets inside; make sure you don’t do this too suddenly.
Keep the recipient in for 15 minutes and repeat the process.
As soon as you are sure all the shrimp are used to the new water, you can release them in the tank.
Cherry shrimp are not sensitive in general, so there is a small chance of encountering problems during this process.
Step 3 – Set the temperature
The ideal temperature for cherry shrimp is 72 degrees Fahrenheit.
Use a thermometer to consistently maintain this temperature.
Step 4 – Feed them daily
Cherry shrimp will eat almost anything a fish would, but they also like other things like zucchini or algae tablets.
Make sure you don’t feed them too much food; if you notice there are leftovers in the tank it means you are overfeeding.
Step 5 – Wait for them to breed
As long as they have the proper conditions, the shrimp will breed very quickly.
In a maximum of 30 days, you will notice the females have a yellow or green patch behind their head.
These are the eggs that will soon move to their tails.
Once you see the females have the eggs under their tails, you can expect to see small shrimp in 3 or 4 weeks.
Step 6 – Take care of the babies
Unlike some species of fish, shrimp don’t eat their babies unless they don’t have food.
You can have hundreds of babies in just a few weeks, as long as you keep the tank clean and provide enough food for everyone.
In the first weeks of life the babies are not bigger than a few millimeters and are completely clear.
They look just like the adults and will acquire color after a few weeks of life.
It’s that easy
Breeding cherry shrimp is easy and fun to do and you can introduce them in your fish tank as soon as they grow up!
So what are you waiting for? Go breed some cherry shrimps now!
No related posts.


